This unseasonable winter and spring has allowed my mind to drift right off into summer. I took a couple of days off to have a long weekend and I had already formulated the perfect plan. The opening day for baseball in Kansas City was Friday and that would leave Saturday and Sunday to fire up the cookers,work in the yard and yes, write the dreaded checks to the IRS and Department of Revenue.
The plan was off to a roaring start on Friday morning when we went to our local pizza pub (Minskys) and boarded a charter bus with 40 fun loving baseball/party fans. It is one of those moments when you realize how great of a country we live in. What better than having your wife, son and close friends, all seemingly not missing work at all, cold beers in hand, headed to The K for the opening of our home baseball season. After a couple of hours of great tailgating we were all off to our seats with great anticipation. Less than 15 minutes after the first pitch our guys were down 7-0 and the masses were distraught over the quick end to their hopes of going home with a win. Meanwhile, I was already thinking about my ultimate day of relaxation, tending the smoker, working in the yard and an evening on the deck with a nice fire and good music.
Saturday morning I had a familiar energy about me. I was up early and cleaning on the smokers. Simple steps leave it virtually ready to go at all times but I like to hit the grates with the torch and give them a good rubdown with grape seed oil. First on the agenda is to trim up the brisket and put a dry rub on it. Peggy had picked out an 11.6 lb Black Angus whole brisket. There are several things that I look for when purchasing a brisket. When I pick the brisket up I place my hand in the middle and I want it to bend a good 45 degrees. This tells me the brisket has very little hard fat. A stiff brisket that doesn't bend nicely on both sides is not a keeper. Give the brisket a good massage and you will find the hard fat and be able to determine if it is an acceptable amount. They are in a cryovac packaging so it shouldn't alarm other shoppers too much. We like the point for burnt ends or chopped beef so we always look for a brisket with a large point. Peggy did a very nice job on the selection and this should work very well.

This brisket has two spots of fat that I want to remove, the upper right and the lower right. And I will thin the fat cap on the underside to allow for better penetration from the dry rub and the smoke.
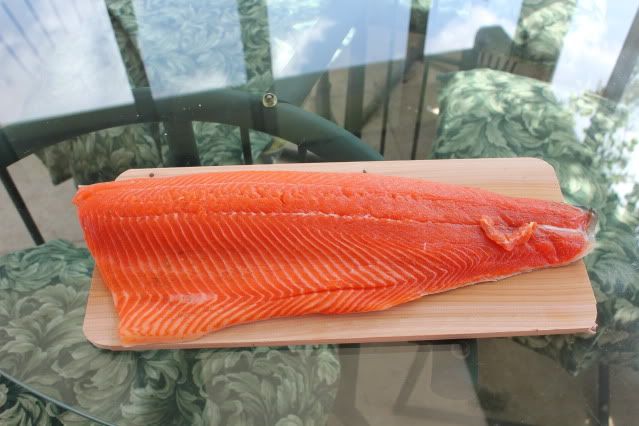
After trimming approximately 1.5 lbs off I have a very nice brisket ready for a good dry rubbing and a trip to the smoker.
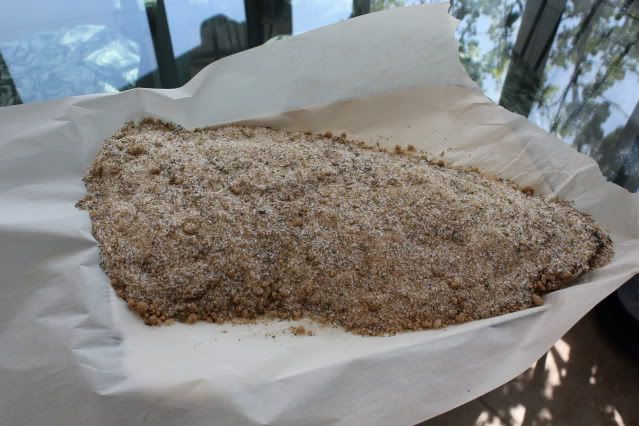
The usual suspects for my brisket. A light coating of grape seed oil will allow the dry rub to work into the surface. I used a good dose of cracked black pepper and a liberal coating of Head Country with about a 10% by volume addition of raw sugar.
While the smoker is coming up to temperature and the brisket is hanging out with the dry rub I will start preparing the ribs. I will be cooking loin back ribs. Often times they are generically called baby backs but these are a larger cut. True baby back ribs are generally 1.5 lbs and down, while these loin backs are 3 to 3.5 lbs per side. These are a very meaty rib that are easier to handle than a spare rib and a larger portion than a baby back rib. They can make for a nice appetizer type finger food or be the entree in a bbq based meal.
When selecting loin back or baby back ribs there is a great rule of thumb to get a meaty side of ribs that will cook evenly. A side of ribs normally progresses from a short bone to longer bones. In back ribs when there is a large discrepancy in rib length from the short end to the long end you often get long bones with very little meat and subsequently the long bones end up dryer than the short bones.
Peggy did a great job of selecting the ribs. These are very uniform from short end to long end and will do very well on the smoker. I gave them a good washing, dried them off and removed the thin membrane from the bone side. I used a paper towel and grabbed the membrane at the end bone and it pulls away in one pull.
I dry rubbed the ribs with The Slabs (Bird and Bones) and they are ready to hit the smoker.
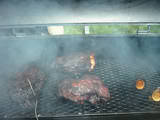
These will be cooked in an offset smoker that has two separate chambers. One chamber is for the fuel which will be small amounts of lump charcoal and splits of hickory wood that are about the size of a piece of firewood. The other compartment holds the meat and allows the meat to be exposed to the heat and smoke without being subjected to the damaging effects of an open flame.
On this cooker I expect the ribs to take between 5 and 6 hours @ 225 degrees. The brisket would normally spend up to 20 or more hours but I will be splitting the cook time between 2 different cookers and the brisket could be done in 15 to 16 hours.
A couple of hours in and everything is looking good. I normally cook ribs bone side down for the whole cook but these are so large I decided to give them an hour with the meat side down.
The ribs cooked for 5.5 to 6 hrs which is a little long but we don't cook by time. I use 3 tests to determine when ribs are ready. One is to look at the tips of the bones for the meat to be pulling back. This is helpful but not always an accurate test. Next I pick the ribs up with my hand in the middle and look for the 45 degree bend and the meat almost breaking open in the top middle. The toothpick test is the final test, pushing a toothpick into the meat between two bones. You want it to pass through with very little resistance. These are done.


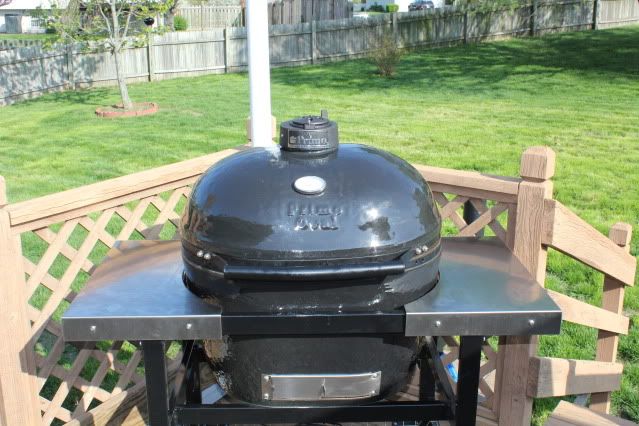
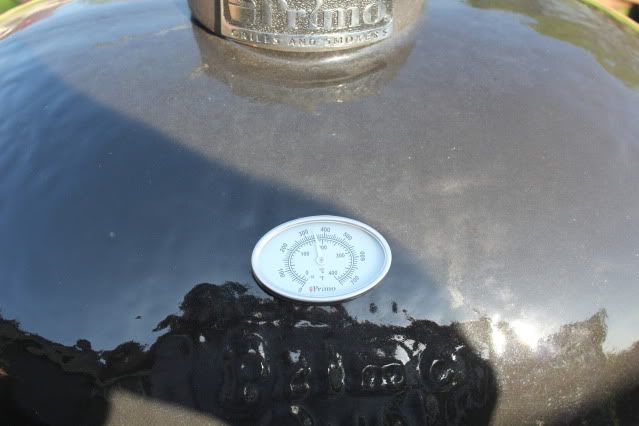
The brisket has been on the smoker for 10 hours. The large smoker requires a good deal of attention, with a split of wood needing to be added approximately every 45 minutes and a half of a chimney of lump charcoal every 90 minutes. It is 9:30 pm and it has been a long day of yard work and cooking so I am moving the brisket to the ceramic cooker which requires virtually no attention. I have preheated the cooker to 220 degrees and once the brisket is on I can sit back, have a cold one, enjoy a nice fire and listen to some good tunes.

Tonight we are burning lump charcoal and no wood. The 10 hrs on the larger smoker has imparted all the smoke flavor we need. The beauty of this cooker is the ease of controlling the temperature.It is almost as easy as pushing a button on your range to move the temperature up or down, The design of the cooker and the control over air flow allows for total predictability. If you want a set temperature it is as easy as, set it and forget it. I've got both of the ceramic plate (heat diffusers) in place and I've placed a couple of drip pans in to make for easy clean up. The next 5 or 6 hours is my favorite me time.


I've got the cooker to the left, a nice fire to the right and good music is making it's way from the sun room to the deck. I've got my little helper Lilly laying on the deck by poppas feet and an ice cold beer in hand. The winds are blowing 20 to 25 mph and the willows are whispering in the quiet of the night. I know I'm in my back yard in the middle of the burbs but this feels like those late summer, early fall nights on Lake Ouachita, sitting around the fire with my family. My cheeks are getting tired from the constant smile on my face.
My last few briskets, I've really focused on getting everything perfect to make burnt ends with the point. I've cooked them to a higher temperature, used more brown sugar (this creates the crusty/bark texture on the exterior) and in doing so, I've cooked the flat portion of the brisket a little dryer than we prefer. The flat is where we get our sliced brisket and I've made a conscious effort to turn my attention to making sure the flat is moist and the sliced brisket meets expectations. For those that don't cook brisket the best way I can explain the challenge, is comparing it to turkey or chicken with the breast/thigh challenge. Often times while making sure you get the thighs done you risk drying out the breast. The whole brisket has 2 muscles, the flat and the point, which have much different consistency and it can be a challenge in getting both to reach the best that they can be at the same time.
After 4 hours on the Primo and 14 total hours of cook time I did the unthinkable and wrapped the brisket in foil. I've not foiled a brisket in the cooking process for 10 years. In cooking circles this technique is referred to as the "Texas Crutch" and can be an insult to any serious outdoor cook, other than a Texan. In my own defense I will state that I will only cook for 60 minutes in the foil to collect some of the drippings to make an aus jus. I wrapped it with the internal temperature in the flat @ 174 degrees and I pulled it with the internal temperature @ 185. This is a good 10 degrees lower than normal. I will then let the brisket sit in foil for another 2 hours in an ice chest, using towels for insulation to hold the heat and continue a slow cooking process. Here is the brisket ready for carving.

The point sits on top of the flat. I always like to separate them because the grain runs different directions and when slicing it is always important to slice across the grain. I take the carving knife and run it between the two muscles to separate them. The point is on the right and and the flat is on the left. All indications are, it is moist, has a nice smoke ring and a beautiful aroma. I will will slice some of the flat to see if this brisket cook is a success.

This point in the process is why I do this. I wait for this moment sometimes for 20+ hours. I cannot begin to count how many times I've waited patiently for hours on end to see the end result of my effort, only to be extremely disappointed. Today is one of those days that makes up for all of the disappointments. I had a plan, I executed the plan, and I turned out a brisket that I would be proud and confident to serve to the toughest of critics (that being me). It has a beautiful smoke ring, fork tender but not not falling apart, melts in the mouth and is bursting with flavor. Every part of the plan from the dry rub to the cooking time on two cookers to the hour in foil to the internal temperature turned out perfect. Peggy has been down and rubbed a piece over some drippings and told me it was time to quit my day job. I however know there are dry brisket's that lie ahead so I will keep on going to the salt mine.


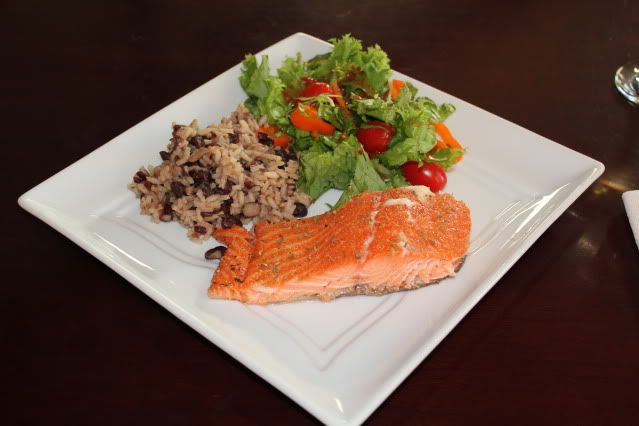
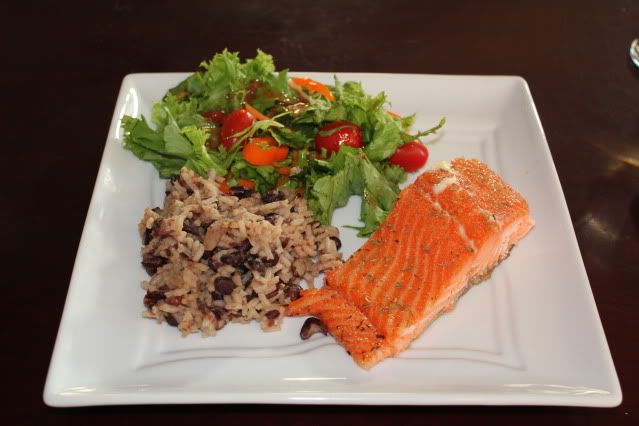
Peggy has prepared some of my favorite sides. And I am ready for a nice BBQ dinner. We have smoked pulled pork baked beans, potato salad, and slaw to accompany ribs and brisket. A frosty mug of Modelo Especial will pair well.
It was a super weekend and all the anticipation of a great day of cooking, working in the yard and enjoying a beautiful evening on the deck was answered with results that exceeded expectations. When Sunday evening came, writing those checks to the IRS and Department of Revenue was not near as painful as I had anticipated. Actually I was still smiling. Until I see you all again I hope all your weekends are full of anticipation and all of your expectations are exceeded.
For full size images double click.